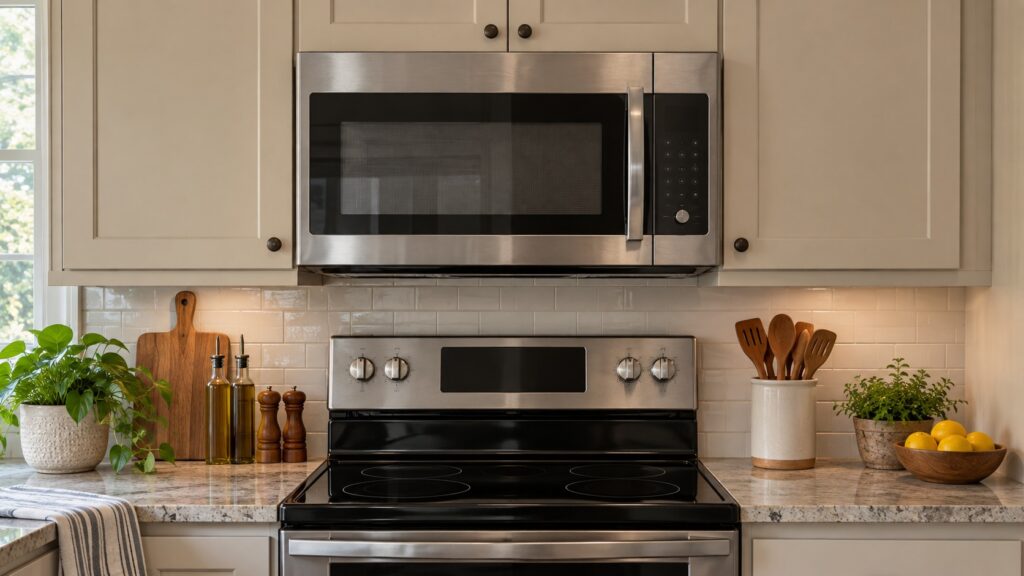
An LG over the range microwave venting decision gets made once, usually in a hurry on installation day, and then lives with the kitchen for a decade. The unit can vent outside through the wall, up through the roof, or recirculate back into the room, and it will run happily either way — but only one of those actually removes steam and grease from the house. This guide covers the choice, the parts that have to be set correctly for each, and the mistakes that show up months later as poor suction.
Decide the path before the box is opened
Look above and behind the range. An exterior wall directly behind the microwave gives the shortest, quietest horizontal run. A cabinet with clear access to the roof gives a good vertical run. An interior wall with cabinets running in both directions usually means recirculating, unless someone is willing to open up a soffit.
Be honest about this choice rather than hopeful. A recirculating installation is a legitimate option and it is the right answer in plenty of apartments and interior kitchens — but it does not carry heat or steam out of the room, and it needs its charcoal filter changed to keep working. Discovering that after a remodel is the disappointment; choosing it deliberately is not.
Setting the blower for the path you chose
The blower inside the unit can be oriented for vertical, horizontal or recirculating operation, and the damper has to match. This is the step most often skipped or half-done, and the symptom is unmistakable: the fan sounds normal and almost nothing leaves the kitchen, because the air is being pushed at a closed damper or back into the cabinet.
If a newly installed unit vents poorly from day one, this is the first thing to check — before anyone blames the filters or the blower motor. Our guide on weak suction describes the same symptom on a dedicated hood, and the logic is identical.
Mounting: template, plate and two people
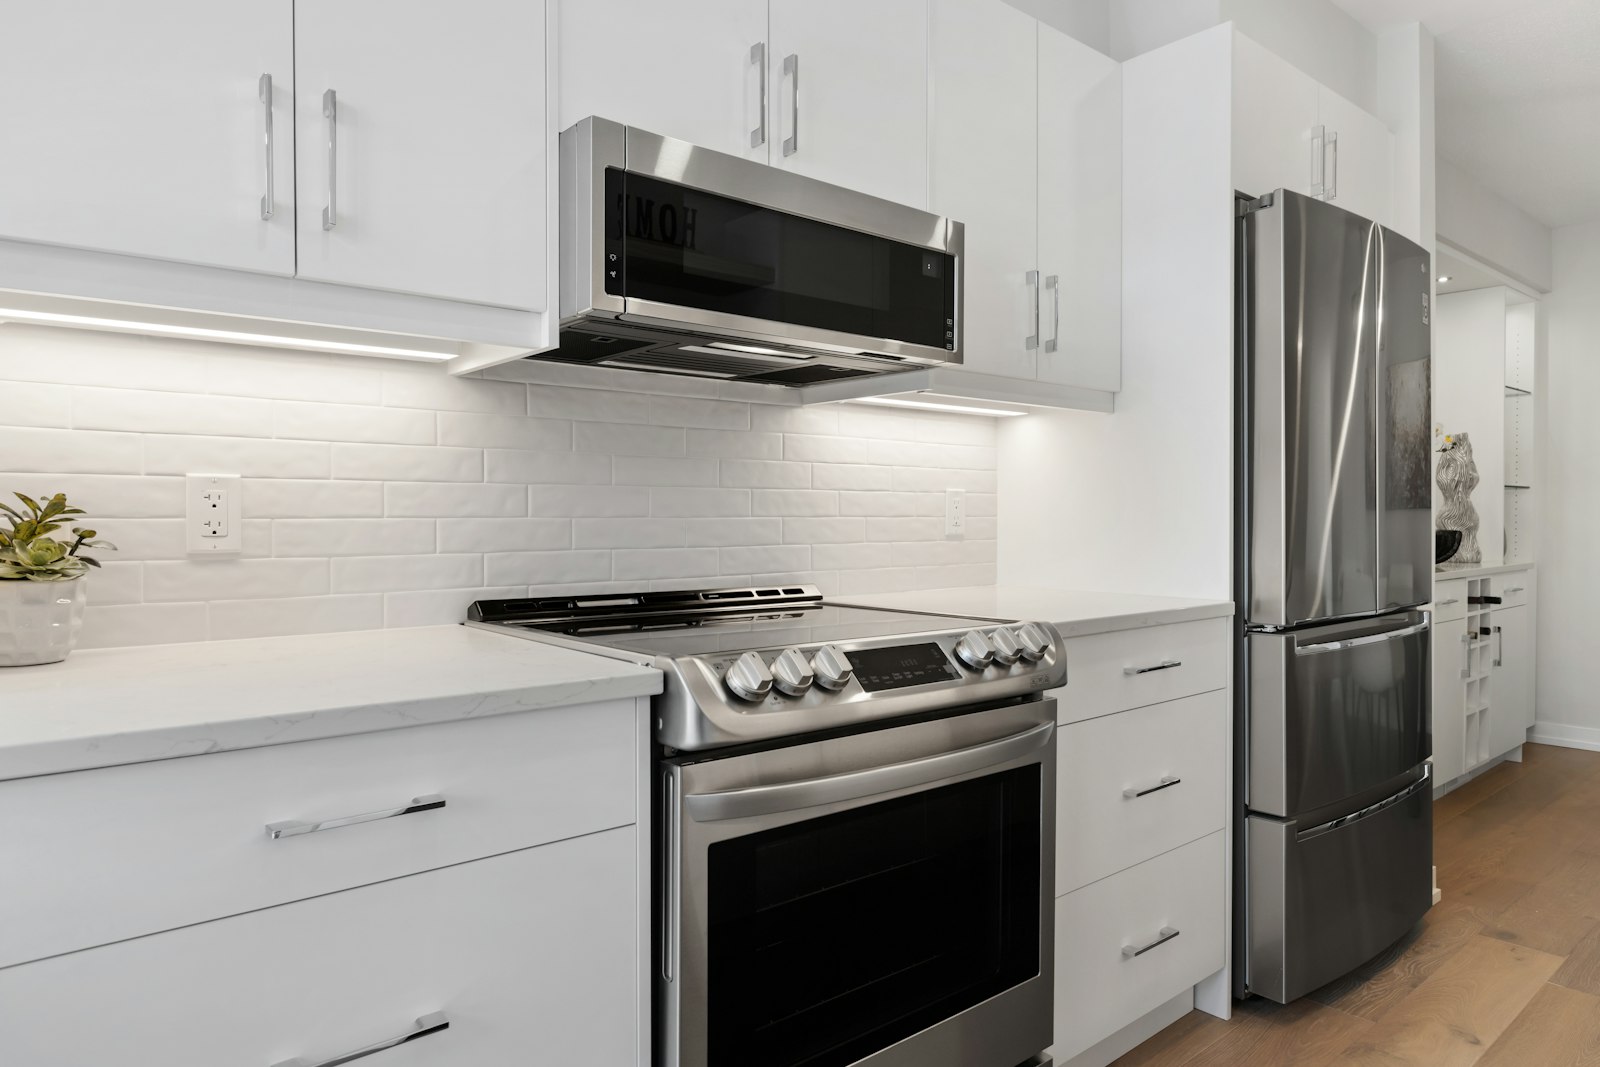
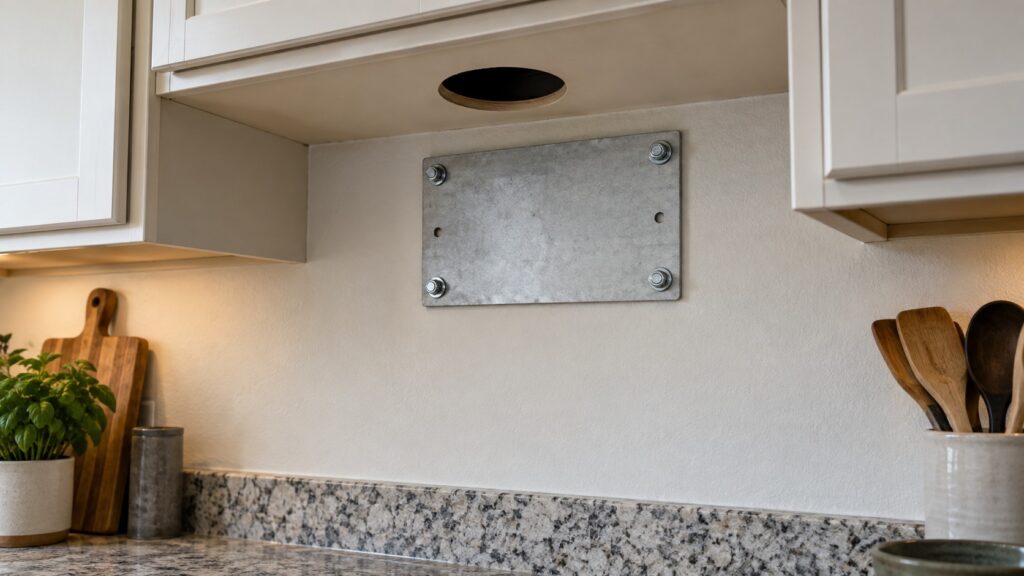
These units hang from a wall plate and are supported by bolts down through the cabinet above. The template in the box sets the plate height and the hole positions relative to the cooking surface, and it exists because the clearance above the range is a safety dimension rather than a style choice. Follow the specified clearance for your cooktop type.
The cabinet above needs a hole for the power cord and, on vented installations, for the duct. Plan both before drilling. The outlet is normally inside that cabinet — it should not be behind the microwave, and an extension cord is not an acceptable substitute.
This is genuinely two-person work. A full-size over-the-range unit is heavy and awkward at shoulder height, and holding it while starting bolts one-handed is how backs and countertops get hurt.
Ducting, if you are venting outside
Commission it before the kitchen goes back together: run every fan speed, confirm the damper opens, and hold a tissue at the exterior cap to see that air really leaves the building. Two minutes then saves an argument later.
One dimension is worth measuring twice: the width of the opening between the cabinets. These units are built for a standard 30-inch opening, and a cabinet run that was built slightly tight will not be discovered until the unit is on the wall plate.
Filters, and which one you have
Every over-the-range unit has metal grease filters underneath, and they are dishwasher-safe or hand-washable depending on the model — clean them monthly if you cook with fat, and the fan will keep its airflow. A recirculating installation adds a charcoal filter behind the upper grille, which is a replaceable item and not a washable one. It is the part that quietly stops working, because a saturated charcoal filter looks exactly like a new one.
Put a date on the charcoal filter with a marker when you fit it. Six months to a year is the usual interval, sooner in a kitchen that fries. Grease filter care and the rest of the routine are covered in our hood maintenance guide.
Keep the template and the manual inside the cabinet above when the job is done. They carry the duct diameter, the blower orientation you chose and the clearance the unit was set to — three facts nobody can read off the finished kitchen, and all three are the first questions on a future service call. A photograph of the blower housing before the unit went up is worth almost as much.
When to call
Call when a newly installed unit vents poorly, when a damper rattles or sticks, when the fan runs at one speed only, when the unit is dead after installation, or when you would rather not hang a heavy appliance over a gas range yourself. If you are still choosing between an over-the-range unit and a countertop one, our comparison guide covers that decision first.
We are an independent repair company, not a factory service arm. Pricing starts from a diagnostic visit — from $89 — with the estimate confirmed before work begins. LG microwave repair covers blowers, dampers, door switches, magnetrons and controls, and you can schedule a visit online.