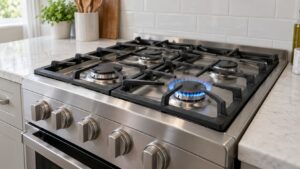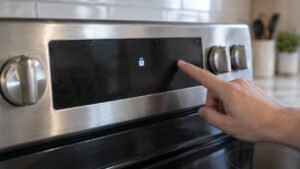
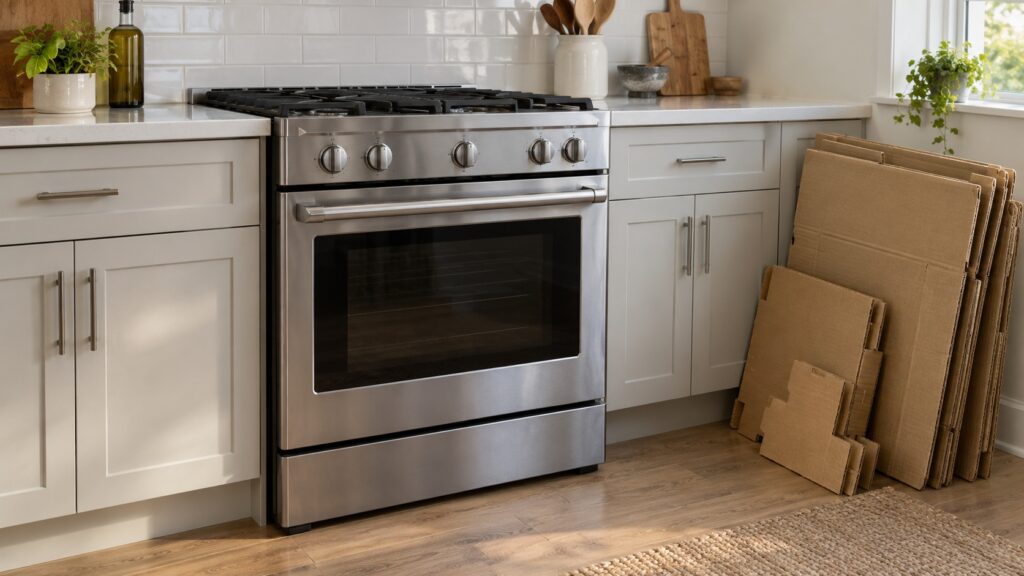
An LG range installation comes down to four things done in the right order: a level floor and the right opening, the anti-tip bracket fixed to the floor or wall and engaged by the range, a power or gas connection made by a qualified person, and a first-use check before anyone cooks. In any LG range anti-tip installation, the anti-tip step is the one most often skipped, and it matters because a loaded oven door can tip an unsecured range forward. The exact bracket position, screw type and clearances are different for every model, so the installation sheet that comes with your range is the authority, not a general guide.
What is an anti-tip bracket on an LG range?
An anti-tip bracket is a small metal bracket that secures the back of the range so it cannot tip forward. It is fixed to the floor or the wall behind the range, and a leg or the rear of the range engages it when the range is pushed into place. The danger is real: if a child climbs on an open oven door, or a heavy pot of liquid is set on it, the weight can lift the back of an unsecured range. The bracket is there to stop that, and it only works if it is installed and the range is actually engaged with it. A range that has been pulled out for cleaning and pushed back without checking the engagement is no longer secured. Where the bracket goes, how it is fastened and how the range engages it differ by model, so follow the sheet for your model number.
Which LG range types does this apply to?
All of them. This site lists gas, dual-fuel and electric ranges in two forms. Slide-in models, such as the LSGL6335F, LSDL6336F, LSEL6335FE, LSEL6337F and the LTEL7337F double oven, are listed with the install type “Slide-in”, and freestanding models, such as the LRGL5823S, LRGL5825F and LREL6325F, are listed as “Free-standing”. How each style is fitted into its opening is set out in the installation sheet. The install type shown on each model page tells you which you have. The anti-tip rule applies to both forms; what changes is how the range is fitted into the opening. Compare yours on the LSGL6335F page or the page for your model.
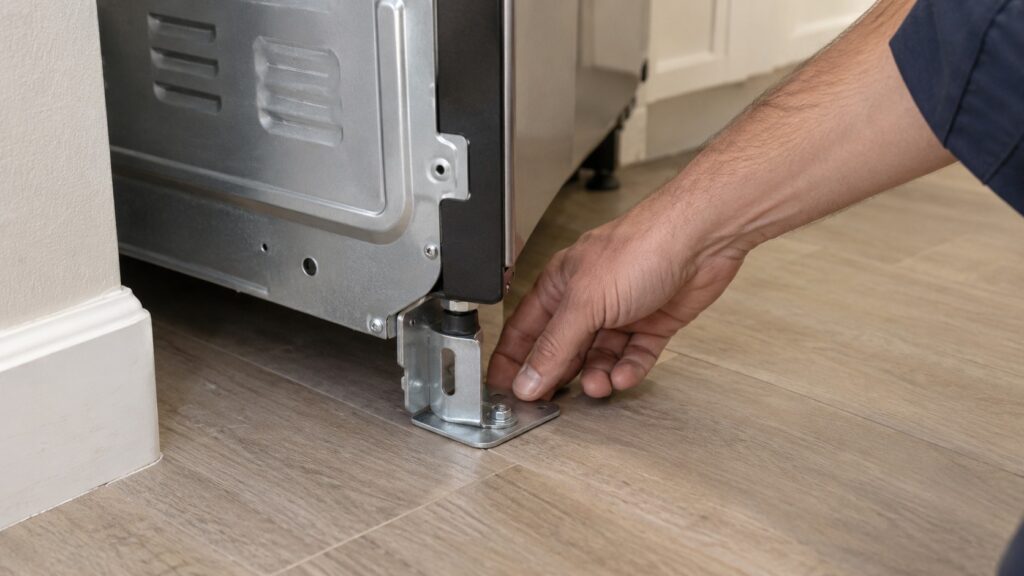
What should you prepare before the range arrives?
Start with the opening. Measure its width, height and depth against the dimensions in your installation sheet, check that the floor is level and solid and clear away the old range’s debris, because a bracket cannot sit properly on a floor with trash under it. Confirm the fuel: a gas range needs a gas supply, an electric range needs an electrical supply and a dual-fuel range needs both. The supply requirements, outlet type and breaker rating are in the installation sheet for your model, and the gas line or the circuit is a job for a licensed gas fitter or an electrician if it is not already in place. Make sure the route from the door to the kitchen is clear and protect the floor, since a range is heavy and awkward.
Who should make the gas or power connection?
A qualified person, every time. A gas range must be connected to the gas line and then checked for leaks. That is work for a licensed gas fitter or the installer, not for the owner: do not connect, adjust or leak-test gas fittings yourself. An electric range must be connected to a supply that matches the range, as the installation sheet specifies, and an incorrect connection can overheat and cause a fire, so have an electrician make or check it. Neither is a home job for the owner. If you smell gas at any time during or after installation, do not touch switches, do not light anything and do not use a phone indoors: leave the home and call your gas utility or 911 from outside. Never test a gas connection with a flame.
What should you check before the first use?
First check that the range does not rock and is level, because an uneven range cooks unevenly and strains the bracket. Next confirm the anti-tip engagement the way your manual describes; do not lean on or sit on an open door to test it. Then, once the qualified installer has finished the connection, check the controls: the clock and display should power up and the oven or a burner should respond. If a gas burner does not light or the flame looks wrong, turn it off and call a technician rather than adjusting anything. A new range may give off a smell during its first heating, which the manual explains and which should pass, but a smell of gas is different and means you stop. If a display code appears, our guide to LG range F codes explains what the common ones mean. If a burner will not light, read why an LG range burner will not light.
What if the range does not fit or does not work?
If the opening is the wrong size, the floor is uneven or the gas valve is out of reach, stop and fix the opening: forcing a range into a space it does not fit strains the connector and can damage the bracket mount. If the range will not power on after the connection, check the breaker first, and call an electrician if the circuit is the problem. If a burner will not light, or a code shows up on a new range, our LG range repair page explains what a technician can check, and when a purchase is not worth keeping, the guide to repairing or replacing an LG range helps you decide.